EN
The 3 Most Popular Lash Box Types Explaine
Every month we can see which packaging pages brands actually open, and the same three formats keep coming back. That is worth reporting — but the useful question is not which is winning. It is what each one is good at, because these three are not three answers to the same question.
They are three different answers to three different questions: how do I present the product, how do I hold it, and how do I tell the customer something. Pick by the question you are actually asking, and the format follows.
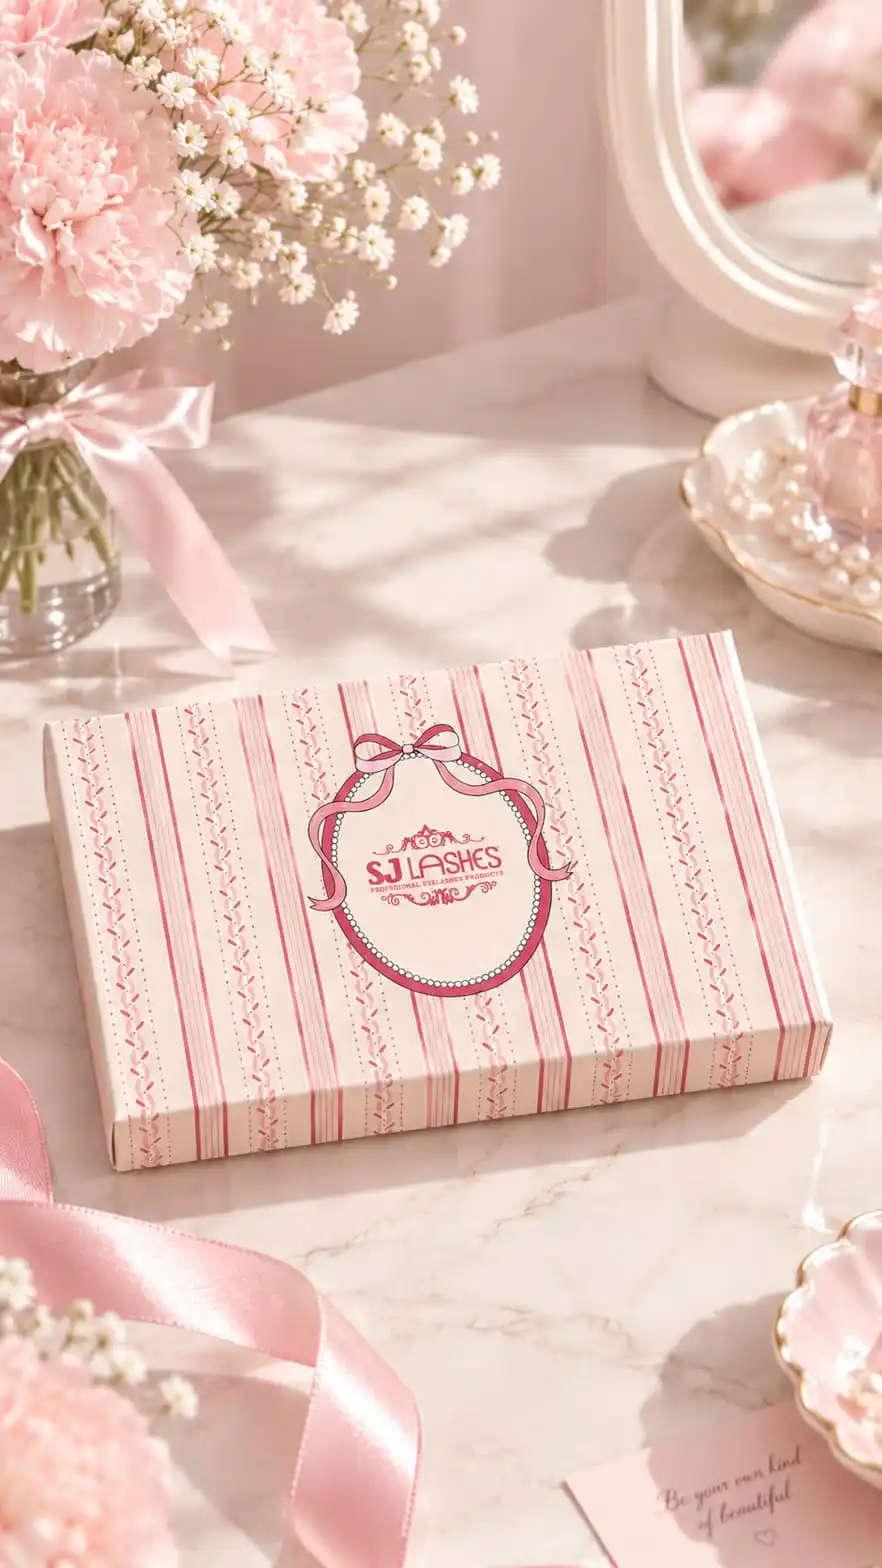
The Card and Sleeve — the Format Behind the Most Stylish Listings
Quick answer: the three types side by side
| Aspect | Slide-out box | Paper box + paper tray | Card + sleeve |
|---|---|---|---|
| The idea | A drawer pulls out of the box | A formed paper tray holds the product | The product sits on a printed card inside a sleeve |
| Best at | Presentation and reveal | Holding product without a plastic blister | Print area and cost per unit |
| Holds | Rows of clusters, or a single pair | A single pair, or formed rows | Rows on the card itself |
| Print area | Moderate — a colour block | Moderate — around the tray | Largest — the whole card, both faces |
| Unit cost | Higher | Middle | Lowest |
| Why it is popular | It feels like a gift | It gets plastic out of the pack | It is the cheapest way to be beautiful |
Type 1: the slide-out box
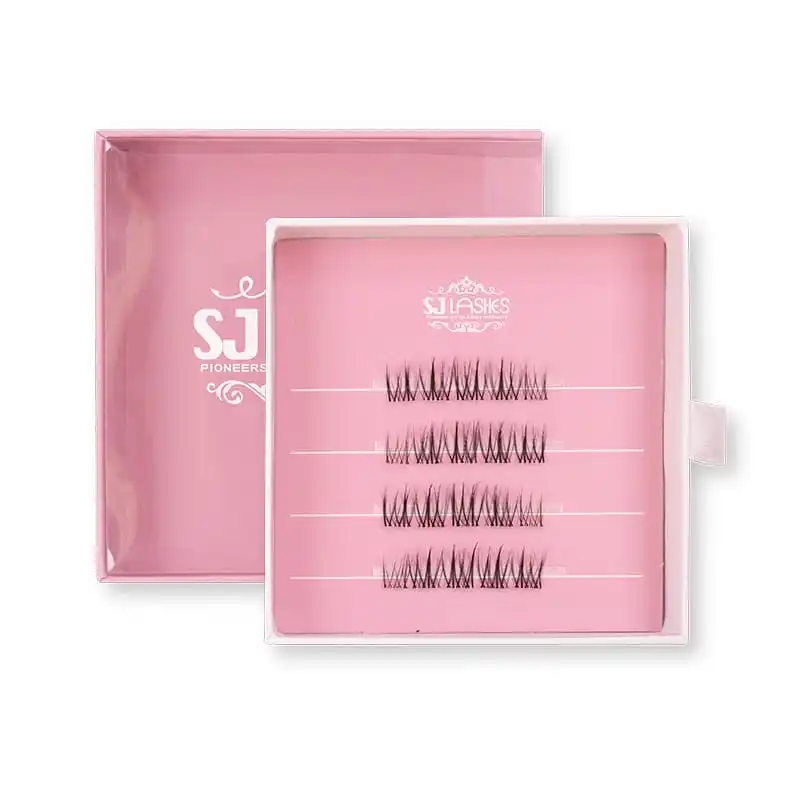
The slide-out box is a tray inside a sleeve, with a pull tab on the drawer. It is the most popular of the three for anything sold as a set, and the reason is simple: the product arrives in stages.
The outer box shows a clean, unbroken face — often a flat colour block with the wordmark printed large, no window at all. Then the drawer draws out and the product appears. That two-step reveal is what a folding carton with a window cannot do: a window shows everything at once, on the shelf, to anyone.
Like this: the box is closed and the branding does all the talking. Then the tab pulls, and the lash card slides out with the product on it.
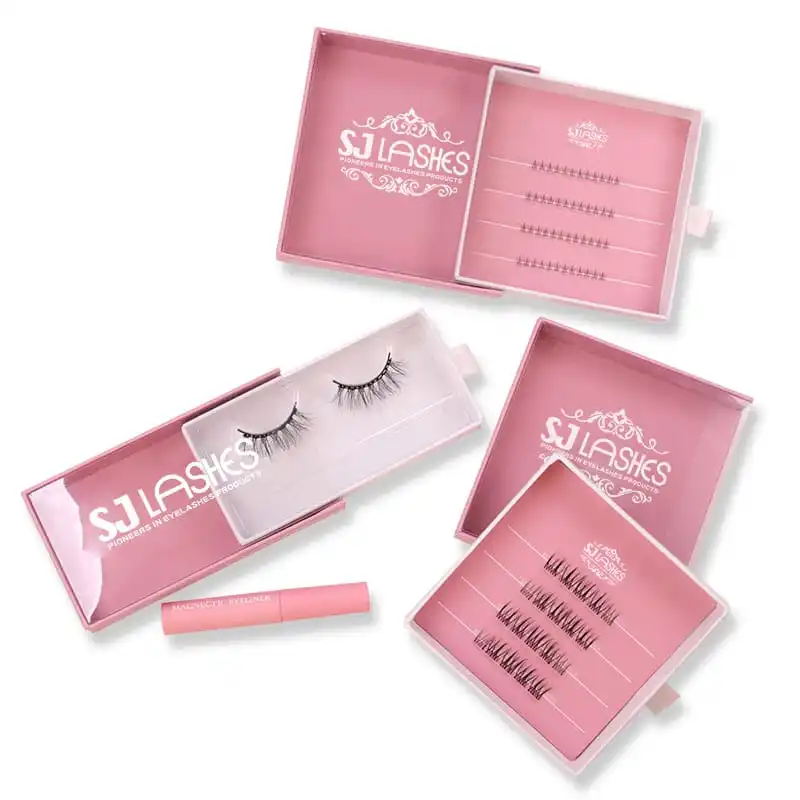
The Pull Tab Is the Whole Interface
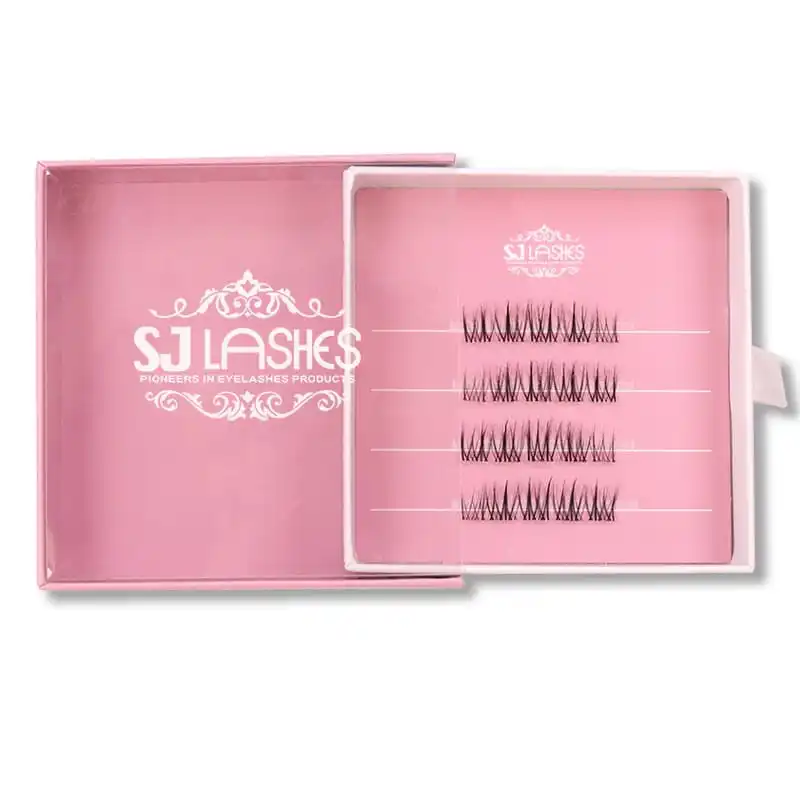
Pull the Drawer, and the Brand Is What You See First
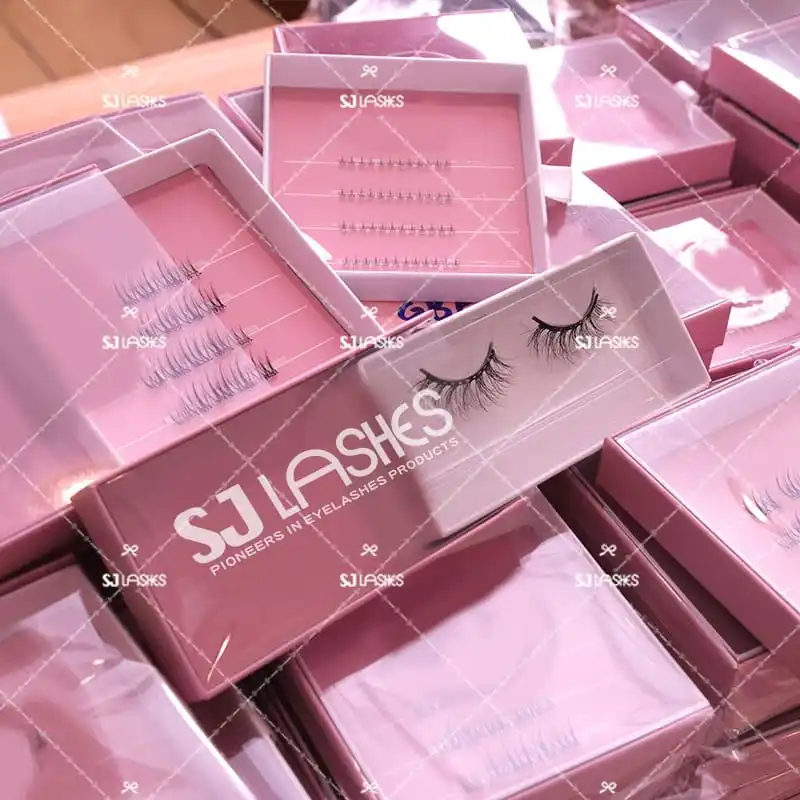
Why It Is the Most Requested Format — It Scales
What to get right
- The pull tab is the whole interface. If it is too small to pinch, or sits flush so there is nothing to grip, the box fails at its only moving part. Ask for the tab length you want rather than accepting the default.
- The drawer must clear the sleeve without catching. Too tight and the brand feels cheap every time it is opened; too loose and the drawer slides out in the post.
- Print the interior. The drawer face is a large, flat, unbroken print surface that the customer sees at the moment of opening. Leaving it blank wastes the best branding position in the pack.
- The insert card carries the structure. The rows are printed on a card that sits in the drawer, so the card layout and the row count are one specification.
Type 2: the paper box with a paper tray
This is the format that has moved fastest in the last two years, and it is worth understanding why.
The construction is a paper box with a formed paper tray holding the product, instead of a plastic blister. The tray is moulded to the lash shape, with a pull tab so it lifts out.
That single substitution is the whole point. A blister is the component that quietly undoes a paper pack: the board can be recycled, the card can be recycled, and then the insert is a piece of plastic that has to be separated before anything can happen. Replacing it with a formed paper tray means the pack can be described as what it looks like it is.
The tray also does a job the blister was never good at: it can be printed. Row labels, size markings and the brand mark can go straight onto the tray, which is a surface the customer looks at directly while choosing a lash.
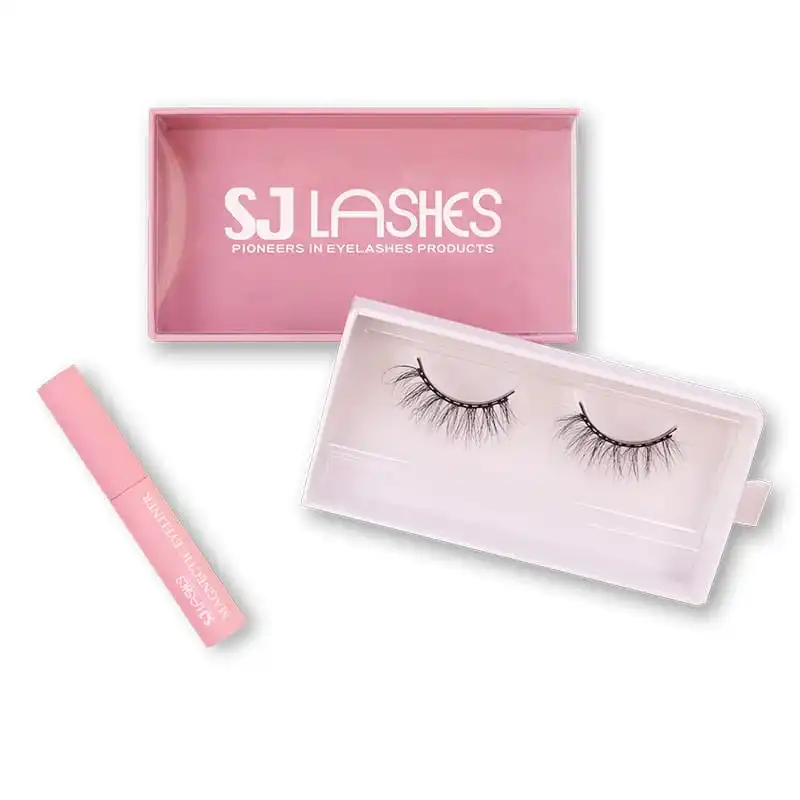
The Paper Tray Replaces the Blister — and Takes Print
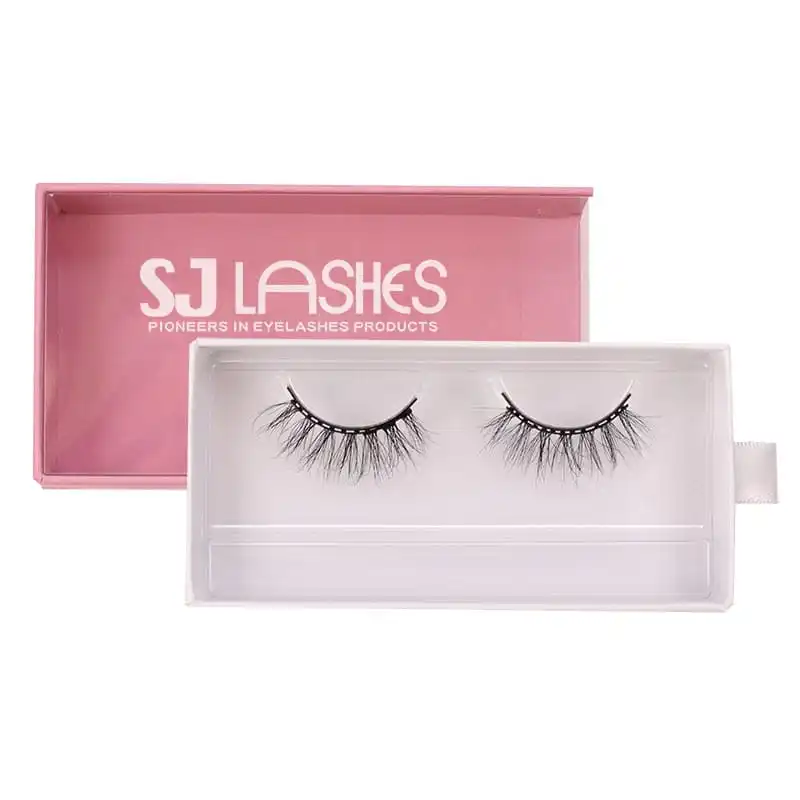
Moulded to the Lash, Lifted by the Tab
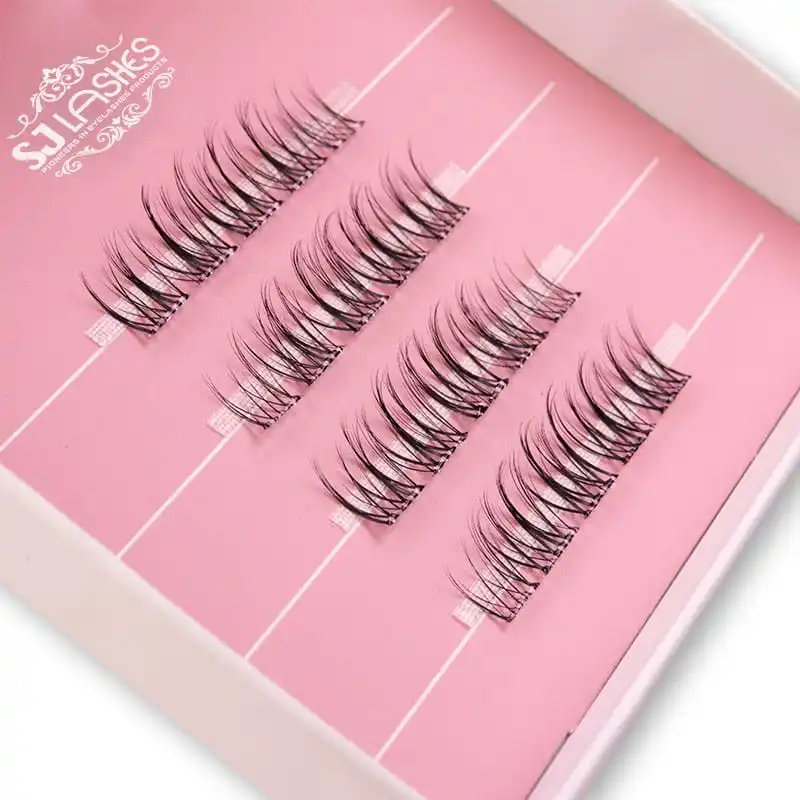
Row Labels Printed Straight Onto the Tray
A Tray That Can Be Read While Choosing
What to get right
- Confirm what the tray is actually made of. Ask for the material specification in writing, because "paper tray" is used loosely and the whole benefit depends on the answer.
- The pull tab has to survive lifting. A paper tab in a fitted tray is doing real work. Test it with cold hands — the way a customer opens it in winter.
- Print the tray, since you can. It is a free surface and most brands leave it blank.
- Check the tray does not press on the lashes. A formed tray that sits too tight will flatten a curved band over time, and the customer receives a straight lash.
Type 3: the card and sleeve
The card and sleeve is the simplest of the three and the one most brands should start with. The product sits on a printed card, and the card slides into a printed sleeve.
Two things make it the most efficient format in this list.
The first is print area per gram of board. The card is a large flat sheet that the customer looks at directly, and both faces are available. There is no window to cut, no tray to mould, no drawer to fit. For a brand whose product is decided by how it looks, that is the highest ratio of visible print to money spent.
The second is that the card already exists — so it can carry the instructions. This is the detail most brands miss, and it is the one worth copying.
Because the card is already in the pack, printing the application steps on it costs almost nothing extra and puts them exactly where they are needed: in the customer's hand, at the moment she opens the product. Instructions printed on a separate leaflet get lost. Instructions printed on the card that holds the lashes cannot be lost, because the lashes are on it.
Look at how this one reads: number the steps, keep each to a short imperative, and put them where the product is.
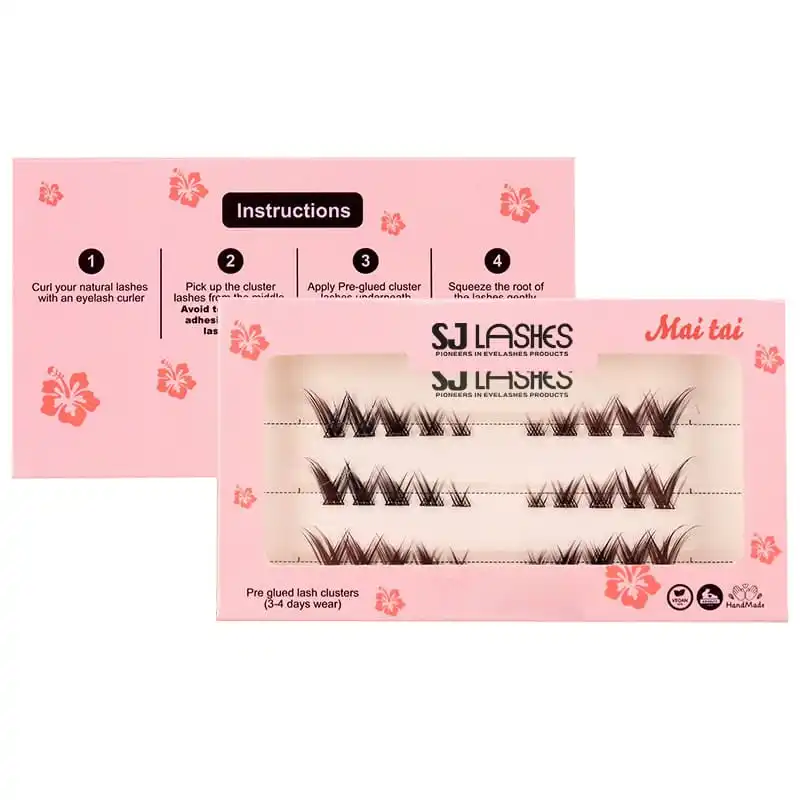
The Instructions Are Printed on the Card That Holds the Lashes
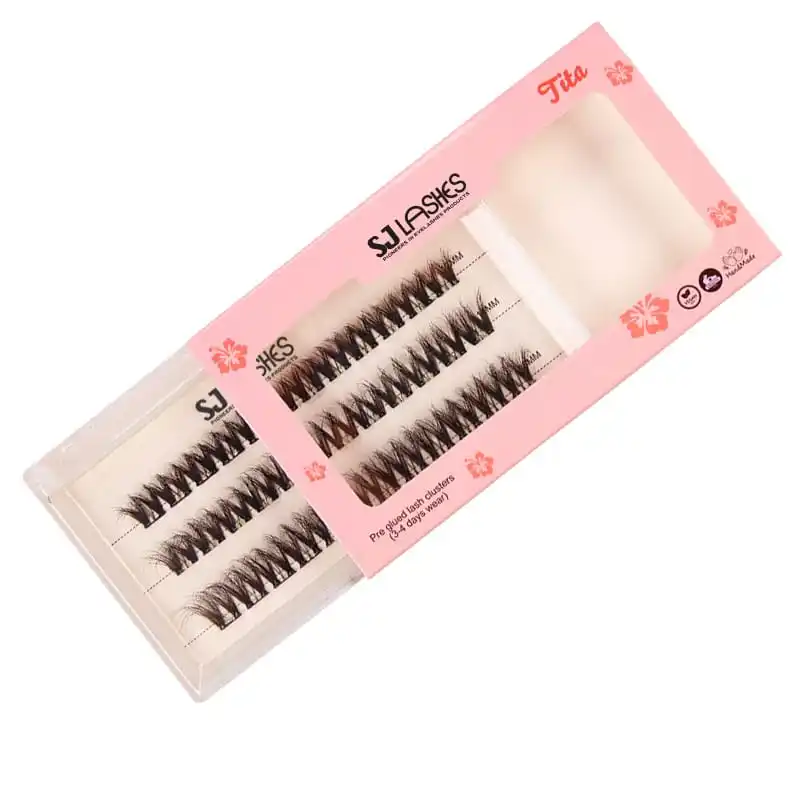
Printed Once, Slid Over — Two Components, No Insert
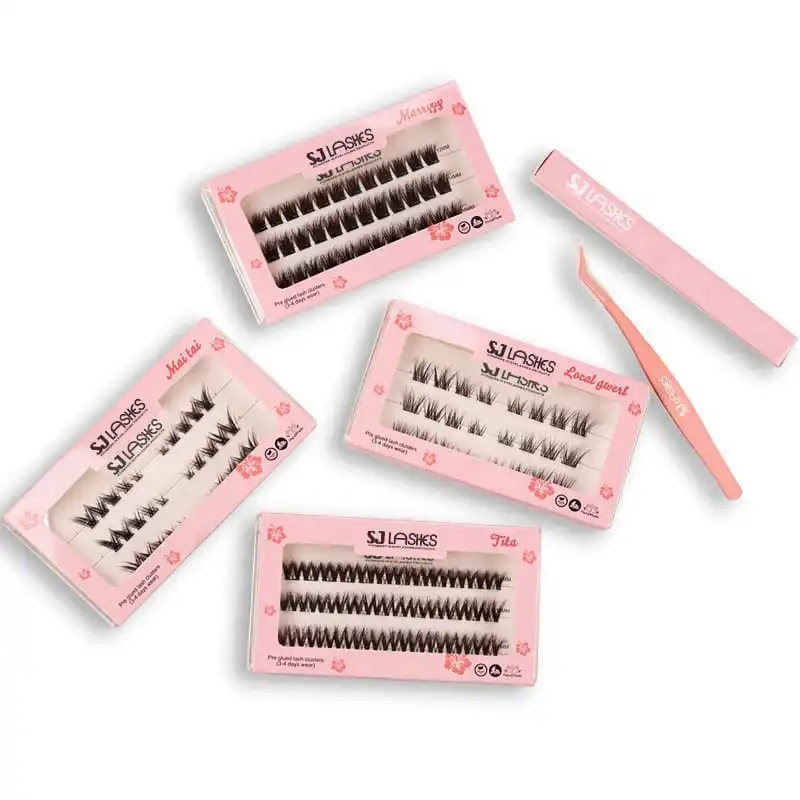
Style Names Printed Small, Brand Printed Once
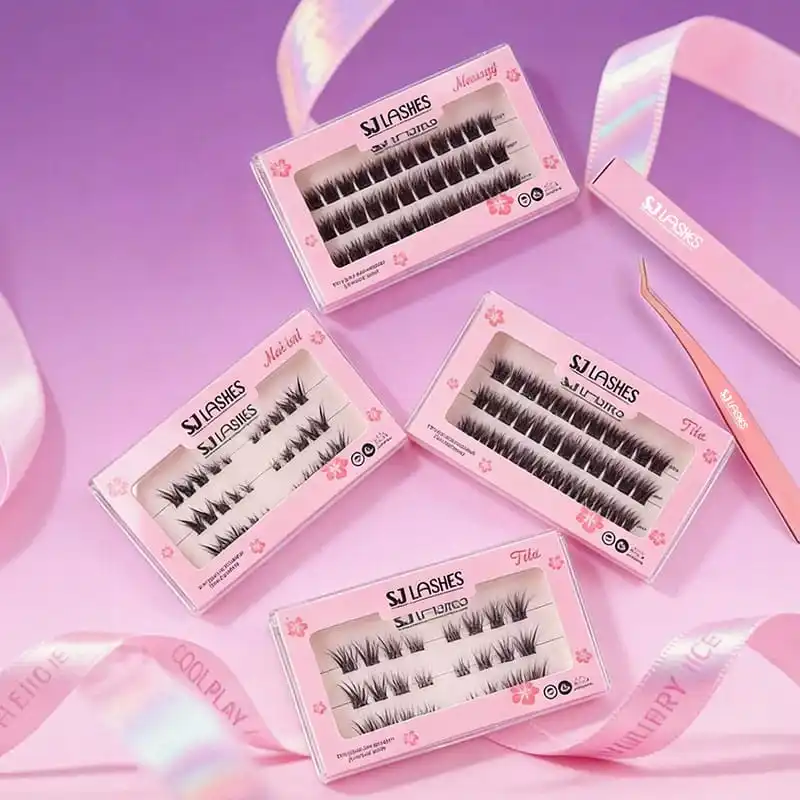
Silver Foil Reads Cooler Than Gold — a Deliberate Choice
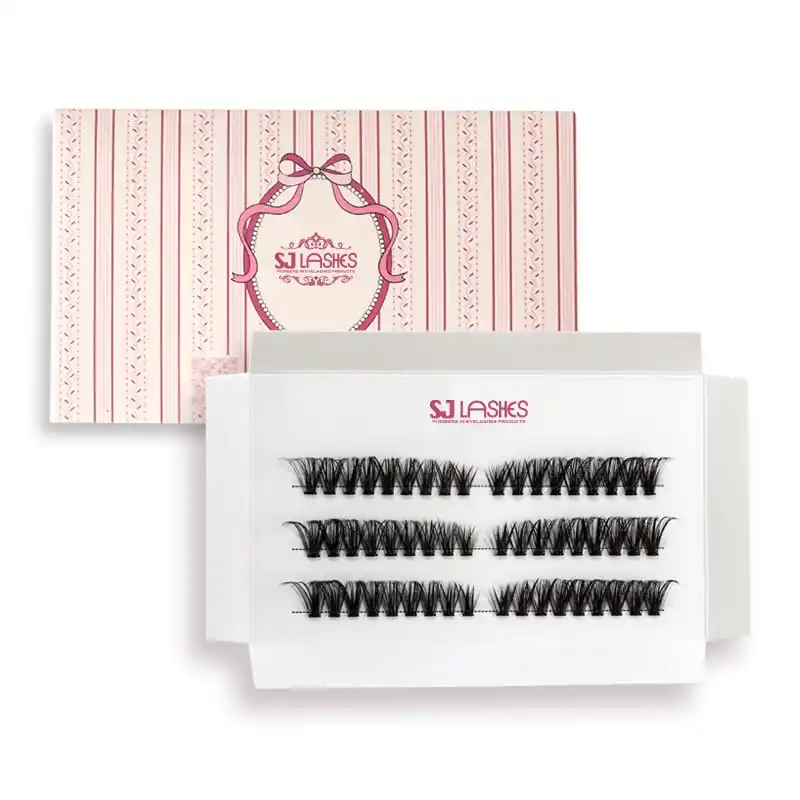
The Same Construction, Dressed Up
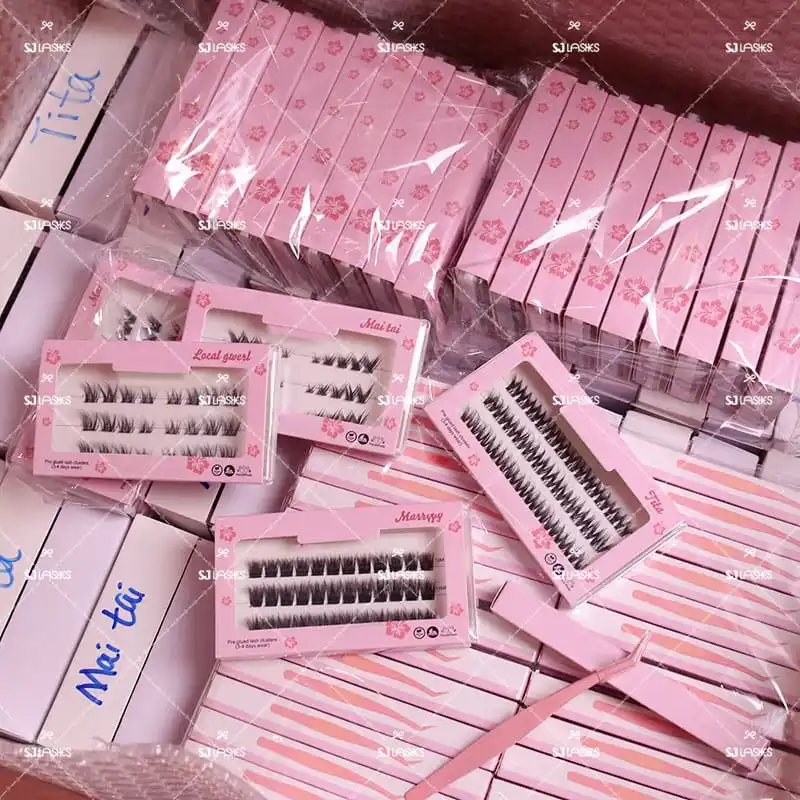
Why It Wins on Cost — Two Printed Pieces, Nothing Moulded
On finishing: this is the format where foil earns its place, because it needs no window or tray to carry the value. Silver foil in particular reads cooler and more modern than gold and suits a clean graphic sleeve — as in the pink hibiscus range here, where the metallic is a closing accent rather than the whole idea. This construction also gives the largest unbroken print surface of the three, which is why it takes an illustrated or patterned sleeve so well: a striped or floral sleeve wraps a single continuous sheet.
What to get right
- Put the instructions on the card. If you print the card anyway, the steps cost nothing and cannot be lost.
- Sleeve fit. It should slide with light friction and hold. Too tight and the card scuffs along the print as it goes in; too loose and the card falls out in the post.
- Protect the print. The sleeve surface is exposed to handling more than a box is. Confirm the lamination or varnish against a fingernail.
- Let the card carry the detail and the sleeve carry the brand. The sleeve is seen in the hand and on the shelf; the card is seen when the product is out. Different surfaces, different jobs.
- Use foil on one element only. A metallic brand mark plus a metallic style name plus a metallic border reads as three things competing. One accent, used once.
What all three share
Whichever of the three you choose, the same four things decide whether the pack works.
- The first surface the customer sees should be the product or the brand, never a blank. Print the interior, print the tray, print the card back.
- One moving part should have one job. A pull tab should pull. If it also has to be a closure, it will do neither well.
- The product must not be pressed. Whether it is held in a drawer card, a formed tray or a sleeve, the lash band should be supported, not clamped. A curved band flattened in transit arrives as a straight lash and a disappointed customer.
- Every component has to survive handling. These packs get opened and closed repeatedly in shops and at home. Test the tab, the tray, the sleeve fit and the print with real hands.
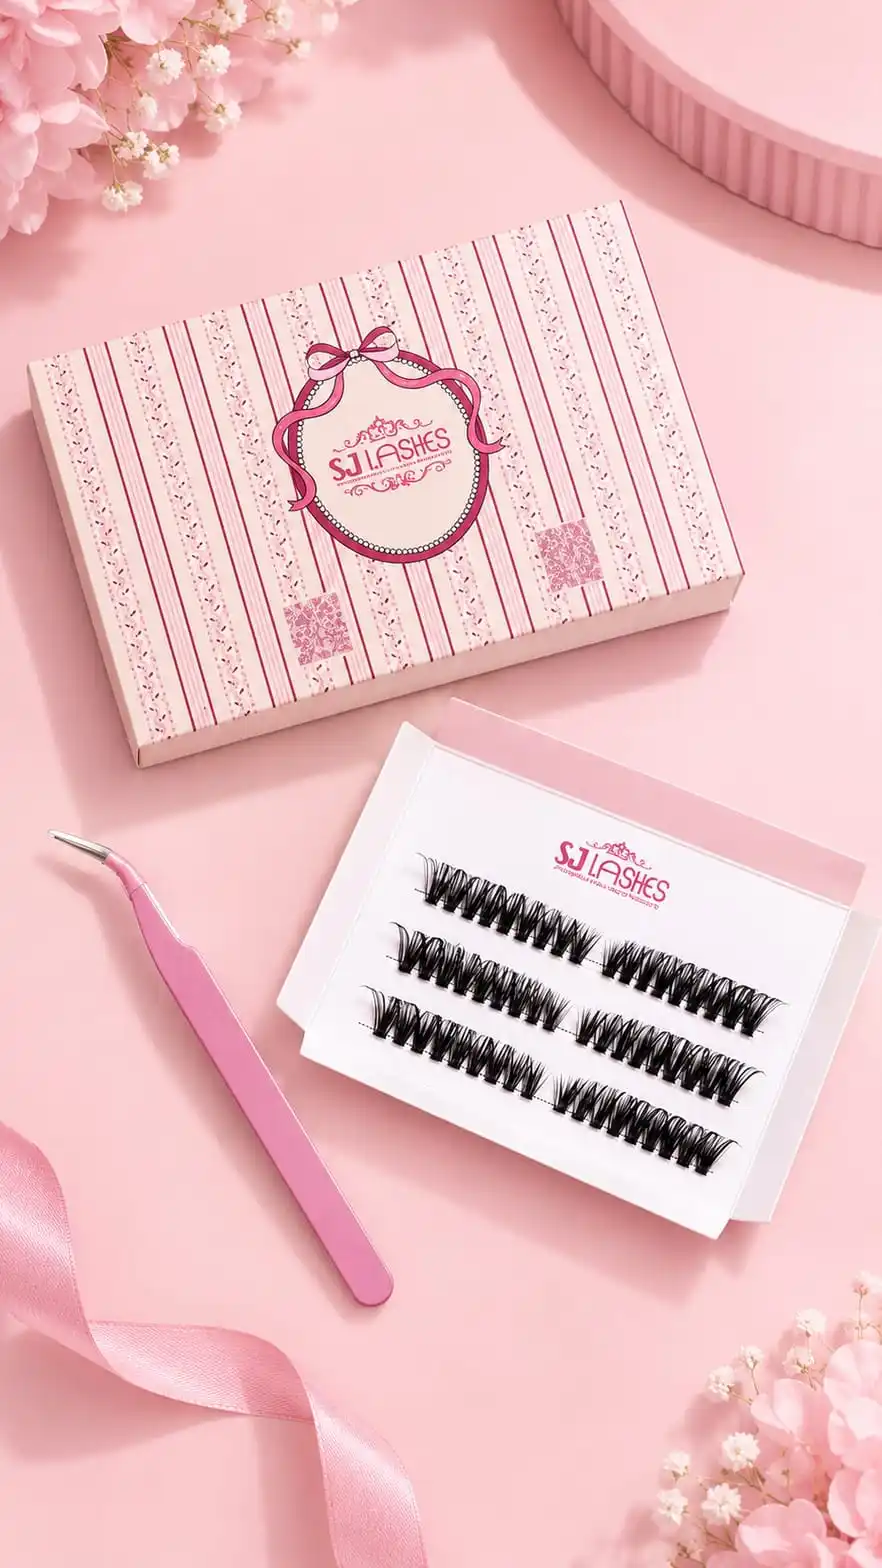
Three Formats, One Rule — Show the Product, Hold It Gently
Choosing in one minute
Ask these in order and stop at the first one that is clearly true.
- Is the pack sold as a gift or a set, and does the opening need to be an event? → Slide-out box. The staged reveal is the reason it is the most requested format for sets.
- Does the product need holding in position without a plastic blister? → Paper box with a paper tray.
- Is cost per unit, or print area, the deciding factor? → Card and sleeve. It is the cheapest of the three and the largest printing surface.
- Does the customer need to be told how to apply it? → Card and sleeve, with the steps printed on the card. Any format can carry a leaflet, but only this one makes the instructions impossible to lose.
If two answers point the same way, that is your format.
Supplier scorecard and sampling
Whichever format you choose, these questions separate a supplier who can build it from one who can only quote it.
- For the slide-out box: what is the tab length, what is the drawer clearance, and can the drawer face be printed?
- For the paper tray: what exactly is the tray material, in writing — and is it the same board as the box or a different stock?
- For the card and sleeve: what is the sleeve fit tolerance, and can the card back be printed with instructions?
- For all three: can the same supplier produce the lashes, the tray or card, and the outer pack to one specification file?
- For all three: what is the low-MOQ position, and how long is sampling?
What to check on the sample
- The opening test. Open it the way a customer will. If you hesitate, the pack has a problem.
- The band test. Load a product and leave it in the pack for a week. Check the lash band has not been flattened by the insert.
- The print test. Run a fingernail across the highest-wear print and see whether it marks.
- The transit test. Ship a loaded pack and open it. Confirm the drawer has not slid out, the tray has not moved, and the card has not fallen free.
- The re-open test. Open and close twenty times in a row. This is what a shop customer does.
- The material audit. For a paper tray, ask to see the material declaration. For a recycled content claim, ask for the certificate.
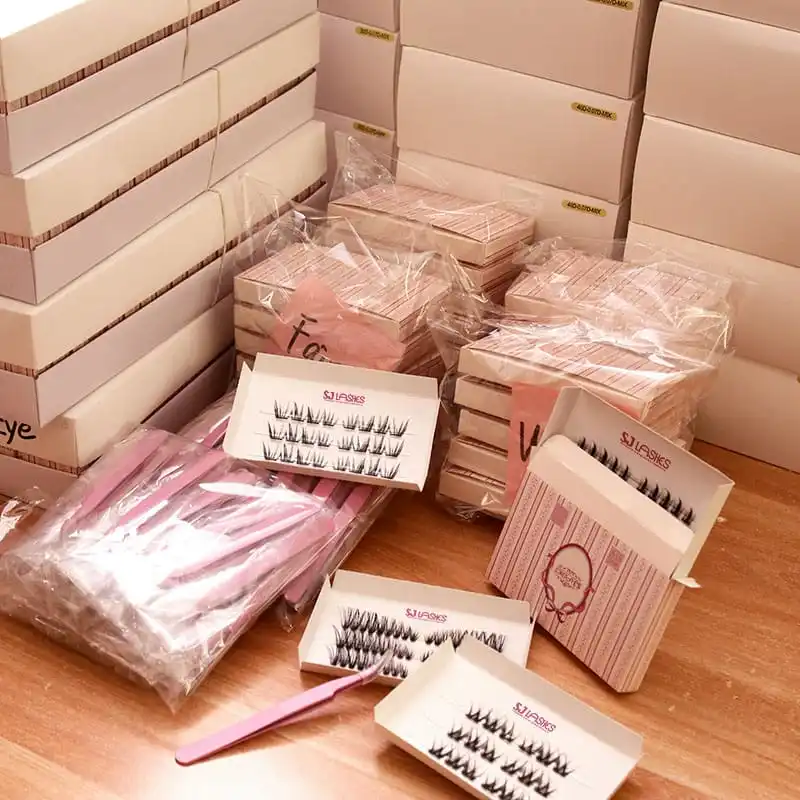
All Three Formats, Running Together
Quote request checklist
For any of the three formats, send this list and you will get a comparable quote back.
- Target market and channel.
- Format — slide-out box, paper box with paper tray, or card and sleeve.
- Box or sleeve dimensions, and board grade.
- Insert specification — drawer card, formed paper tray, or neither.
- Print coverage, and whether the interior or card back is printed.
- Finishing — CMYK or Pantone spot for brand colour, foil in gold, silver or rose gold, spot UV, embossing and debossing, matte, gloss or soft-touch lamination.
- Row count and lash style, if the insert is printed with rows.
- Whether an instruction panel is required, and on which component.
- Any add-ons — tweezers, liner, magnetic set.
- Sample quantity, first order quantity, and delivery window.
👉Request a free sample and quote from SJ LASHES
Compliance and honest claims
- If you describe a pack as paper, check every component. Replacing a plastic blister with a formed paper tray is the single biggest improvement available in this category — and it only holds if the tray really is paper, and if nothing else in the pack is plastic. The window film in a sleeved card pack is the component to watch, because a clear window is often the last piece of plastic in an otherwise paper pack.
- Get the construction right before you write the claim. The common failure is a pack that is ninety per cent paper, described as fully paper. Confirm the specification first, then write the line that the specification supports.
- Keep the material declaration on file. For a paper tray or recycled board, hold the supplier's declaration with the artwork so the claim can be evidenced if it is ever questioned.
- Say what the customer actually receives. Row counts, pair counts and style names should match between the sleeve, the card and what is inside. A mismatch between the printed card and the tray is a returns problem, not a design problem.
- Instruction accuracy is a safety matter. Application steps printed on the card are read while handling adhesive. Keep them short, number them, and state which surface the cluster goes on.
- If you make a "reusable" claim about the pack, keep it distinct from any claim about the lashes. They are different statements and should not be blurred.
Requirements differ between markets. Confirm final content and claims for your target market with your compliance adviser before the print run.
Why SJ LASHES
- All three formations under one roof — slide-out boxes, paper box with formed paper tray, and card with sleeve — so you can compare them on the same specification rather than across three suppliers.
- Paper tray development, including print on the tray, which is the component most suppliers treat as a plain insert.
- Card printing, so the application steps and the row layout can be composed as one artwork rather than bolted together.
- Full finishing range — CMYK and Pantone spot, foil in gold, silver and rose gold, spot UV, embossing and debossing, and matte, gloss or soft-touch lamination.
- Lash manufacturing alongside the packaging, so the insert layout, the row count and the lash style are specified together.
- Low MOQ with fast sampling, which matters most when you are deciding between formats.
See our cluster lashes paper boxes, cluster lashes sliding boxes, cluster lash kit boxes, strip lashes paper boxes and all-in-one packaging ranges.
FAQ
Which of the three should a new brand start with?
The card and sleeve, in most cases. It is the lowest unit cost of the three, it gives the largest print area, and it puts the application steps on the card that already exists. Start there, prove the product, and move up to a slide-out box when the price point supports it.
Why is the slide-out box the most requested format?
Because it is the only one of the three that stages the reveal. The outer face stays clean and unbranded by product, and the drawer does the reveal when the customer pulls it. For anything sold as a set or a gift, that opening moment is worth more than showing the product on the shelf.
What is the difference between a paper tray and a blister?
A blister is a moulded plastic insert. A paper tray is formed from board. Functionally they both hold the product, but the paper tray removes the component that stops a paper pack from being recyclable as paper, and it can carry print.
Can the tray be printed?
Yes, and it should be. Row labels, size markings and the brand mark can go straight onto the formed tray, and it is a surface the customer reads while choosing. Most brands leave it blank.
Where do the application instructions go?
On the card. In a card and sleeve pack the card is already there, so printing the steps on it costs almost nothing and means they travel with the product and cannot be lost the way a loose leaflet can. Steps should be numbered, short, and state which surface the cluster goes on.
Is silver foil more expensive than gold foil?
The foil process is the same; the difference is the material and the effect. Silver reads cooler and more modern, gold reads warmer and more traditional. Both are applied as hot foil stamping and both can be used on a sleeve, a slide-out box face or a card.
Can I get a window in a card and sleeve pack?
Yes. A window in the sleeve lets the card and the product show through while the sleeve carries the branding. Be aware that the window film is then the only plastic in the pack, which matters if you intend to describe the packaging as paper.
What is the minimum order for a custom lash box?
It depends on the format, the insert and how much print is custom. The card and sleeve is the most forgiving to start with. Send your component list and target quantities and we will confirm what is achievable for a first run.
Can I mix formats in one order?
Yes, and it is often the right answer: a card and sleeve for the entry price point and a slide-out box for the set, sharing one brand colour and one logo treatment. Compare them on the same specification first, because unit costs are only comparable when the print coverage matches.
Final thought
These three formats are popular because each one solves a different problem. The slide-out box stages a reveal. The paper box with a paper tray holds the product without plastic. The card and sleeve gives you the most print for the least money, and somewhere to print the instructions that cannot be lost.
Popularity tells you they all work. It does not tell you which one is yours.
Ask what the pack has to do — present, hold, or explain — and the format chooses itself.
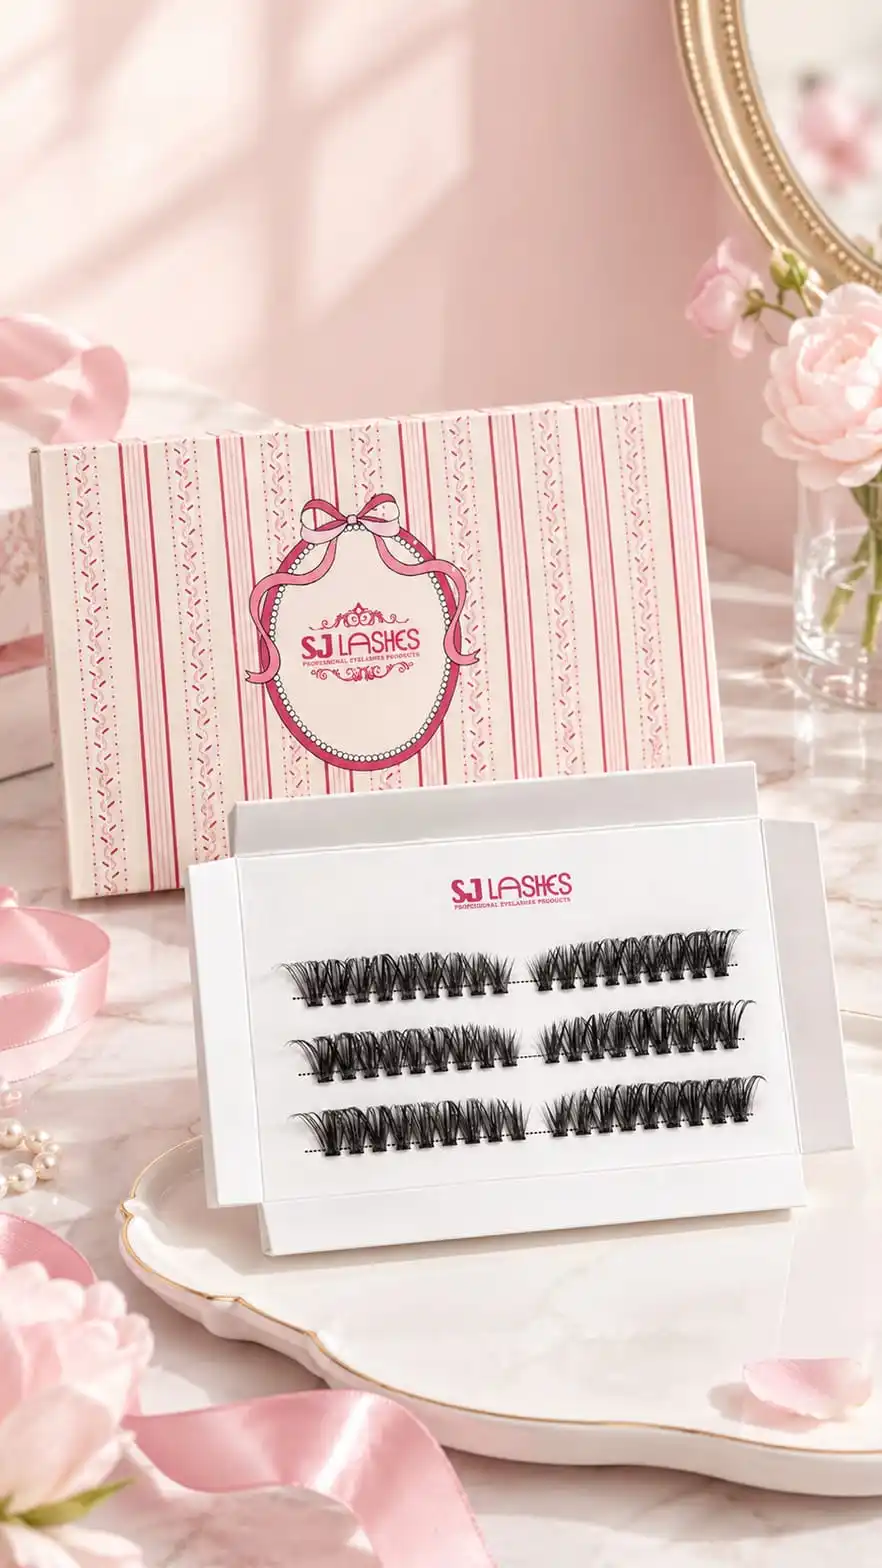
The Format That Wins on Looks Is the One With the Most Print
👉Request a free sample and quote from SJ LASHES

For more packaging development, factory footage and application education, follow SJ LASHES on Instagram and read the SJ LASHES blog.